How to capture beauty in landscape pictures? Tips and novelties at Colorland – new formats of canvases
by Julia, 02 Aug 2018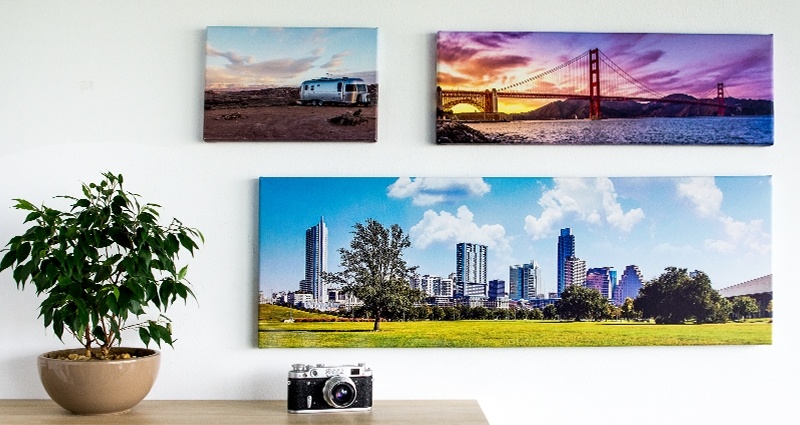
The holiday season is the perfect time to take pictures, especially if we can enjoy the good weather and take a trip out into nature. Indeed, everything in nature is so beautiful, isn’t it? And what if… all the breathtaking views stayed with us forever? Today, Colorland has prepared for you some pieces of advice on how to take good landscape photos. Be sure to check them out!
1. Get ready!
It’s the first key rule. Of course, sometimes it’s worth taking pictures spontaneously. However, on the other hand, no photographer has ever regretted being well prepared for a photo session. First of all, think about what you actually want to show in your picture. Secondly, think about what time or what the weather should be like to capture your dream subject. Try it once and see for yourself – it’s worth it!
2. Take your time!
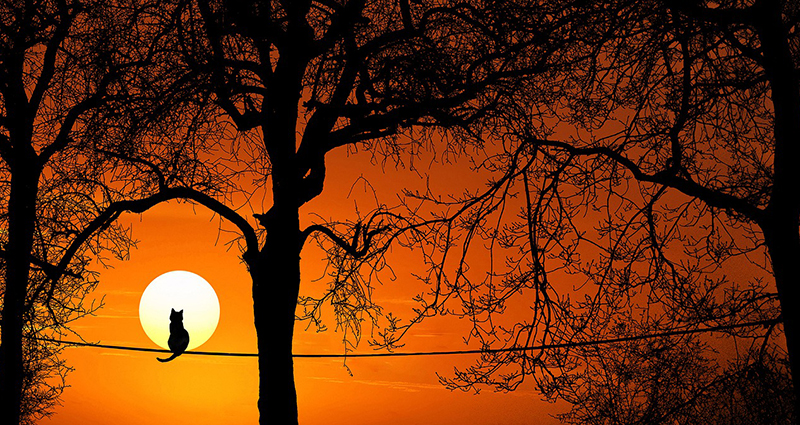
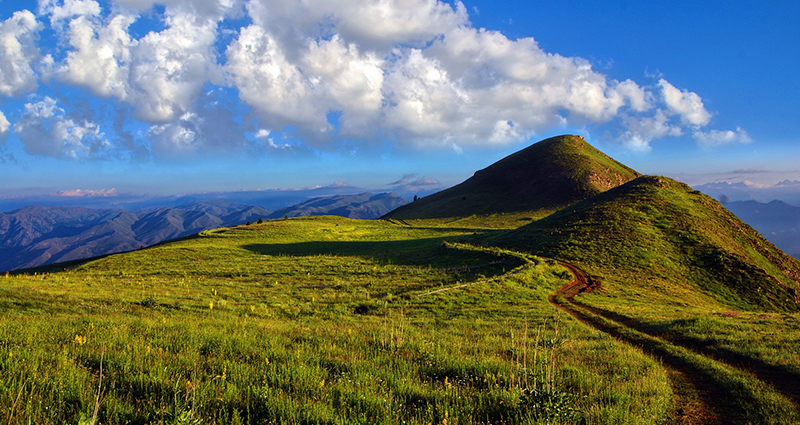
As it results from the first point, sometimes you have to wait to take a good picture. It is often enough to change your perspective, come closer or lower your camera towards the ground or even… return to the same place another day when the weather conditions are more favourable. The same places look different not only in the morning, at midday or in the evening but their surroundings change completely in spring or winter. A tree without leaves can be more interesting than the same tree covered in bushy summer green and vice versa.
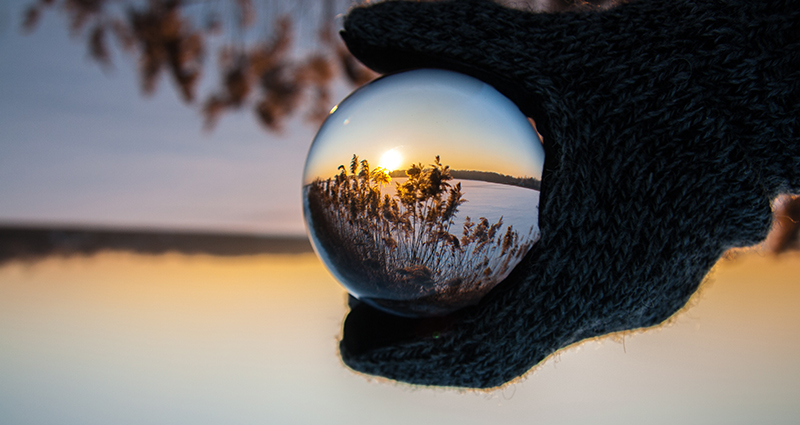
Photo by Dawid Zawiła on Unsplash
What is more, some people think that the best pictures come out during the so-called “golden hour” which means an hour after the sunrise or an hour before the sunset. This is when the sun is low over the horizon creating delicate and long shadows and shedding light in warm tones, so… it’s definitely worth waiting to see this remarkable show. Try it for yourself!
3. Fill the frame
The composition of your picture is essential. When it comes to the landscape photography, you should focus on the main element of your picture so that it fills almost the entire frame.

It’s also worth balancing the exposition and finding the strong foreground. When we are outside, we often scan everything that we see. However, we should remember that a photograph will divide our composition into the first and the second plan. This is why an empty space covered with grass or beach sand may be a certain obstacle which will prevent us from immersing into the further plan of the landscape.
Sometimes we can be enchanted by a landscape but when we decide to capture it… it comes out flat and it lacks something special, something which will catch our attention and give it a meaning. Try to locate a characteristic thing, a distinctive subject and build a frame around it.
4. Look for many surfaces
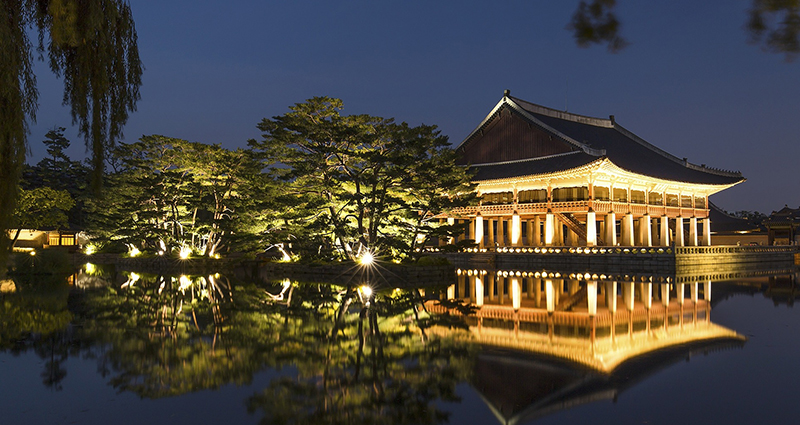
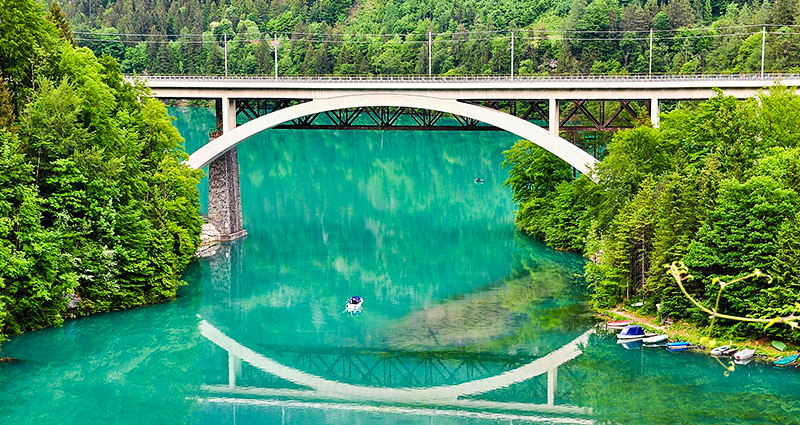
When you take landscape photos, you have to be careful in order not to flatten the frame. This is why it is worth taking advantage of everything that nature gives us and looking for various surfaces. The three-dimensional intriguing effect can be best achieved with the help of a glossy reflecting surface or… simply, a water surface. Easy-peasy!
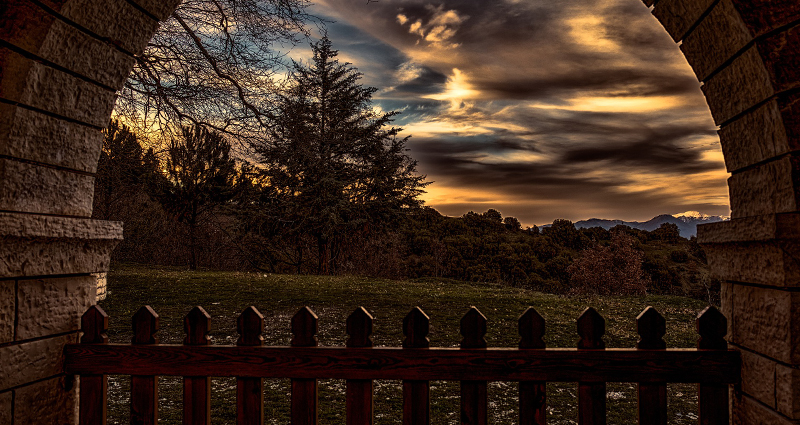
It is also worth taking advantage of natural frames in nature which will help us show the depth of photography – caves, rock arches or trees.
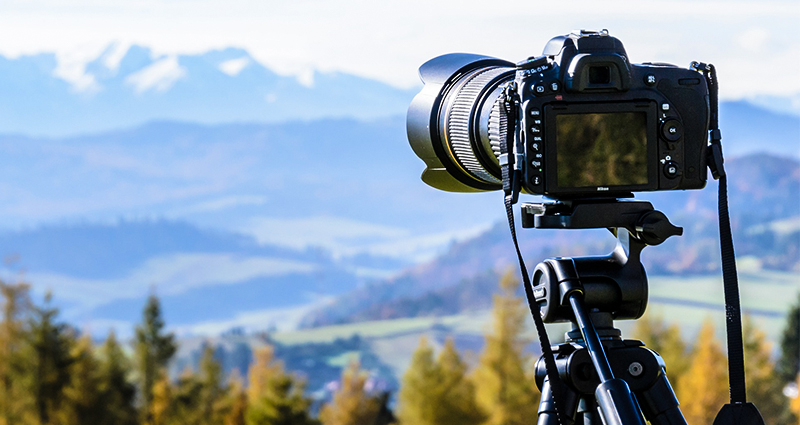
5. Use a stable tripod
When taking landscape photos, it is highly recommended to use a tripod which maybe won’t guarantee you ideal sharp pictures but will surely stabilize a frame and allow you to minimize the risk of your photo being shaken. Sometimes it is worth considering using a self-timer or buying a remote shutter release.
6. Emphasize one or more colours

It’s worth highlighting the colours of nature, especially in landscape photography. This is why we encourage you to find one object which stands out because of its colours and put it in a strong point which will capture the recipient’s attention.
You should also remember that the majority of landscape photos are abundant in green and blue colours and if you want to obtain a greater effect it is essential to highlight these colours. You can use the landscape mode which will automatically make blue and green colours more vivid.
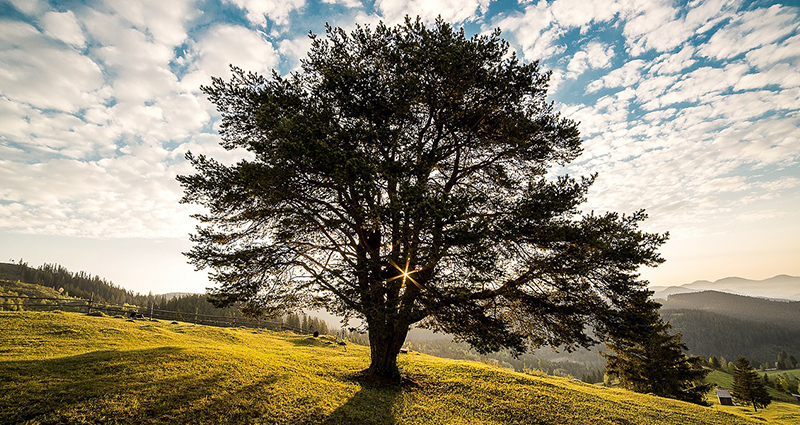
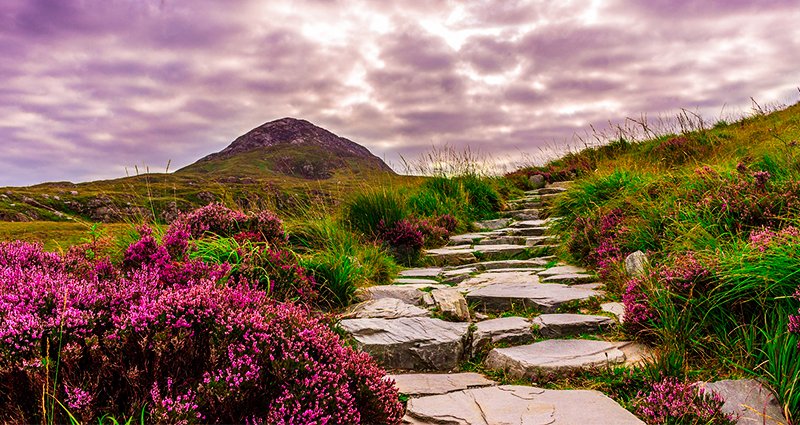
7. Use a central composition
You don’t have to always stick to the rule-of-thirds composition. There are some cases (and landscape photography is one of them!) when the main object of our picture should be placed in the middle of the frame. It will work best in the case of simple, symmetrical compositions.
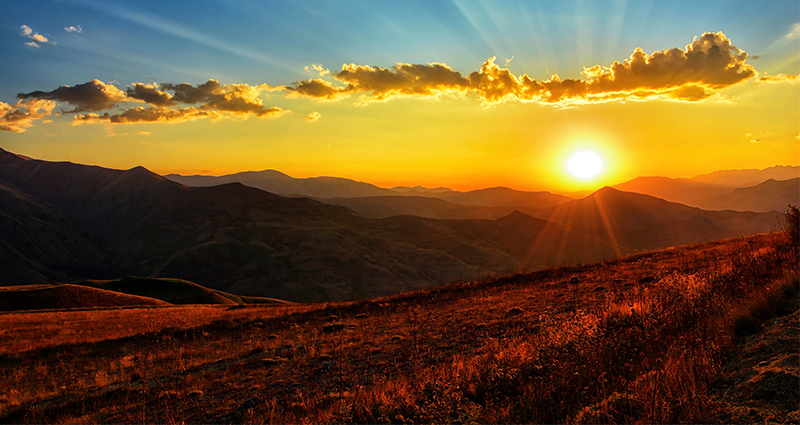
Photo by Alexander Smagin on Unsplash
And if you want to know more about Math in photography and the main rules regarding frame composition, read one of our previous articles here.
8. From the left to the right
As children, we were taught to read from the left to the right side, so our brains already have certain patterns of perception. This is why the main elements of a photograph should be placed on the right side of the frame so that they can easily catch our attention.
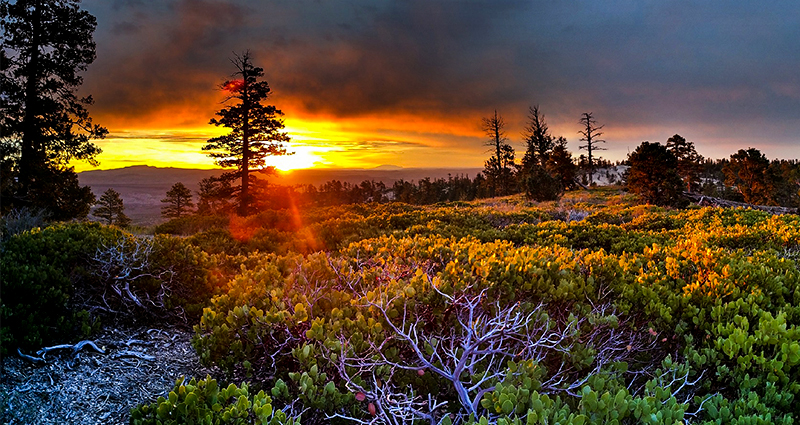
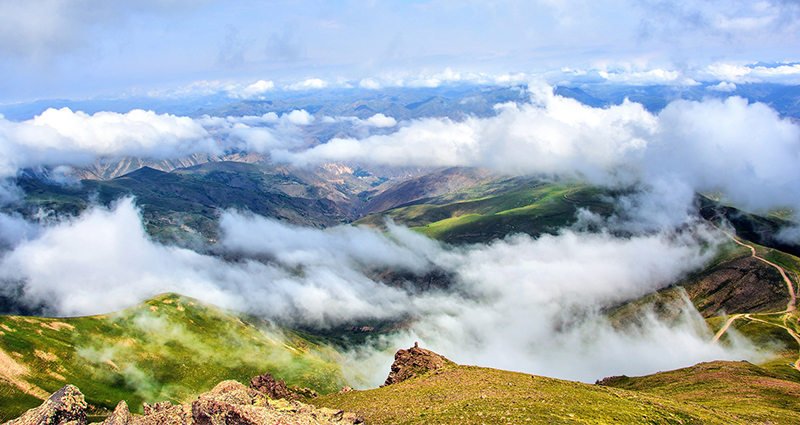
9. Chase clouds, storm and fog
Weather phenomena can create the perfect background for our landscape photos. Clouds add more charm to almost every type of photography: they fill the frame and make it more interesting creating an impression of three-dimensionality.
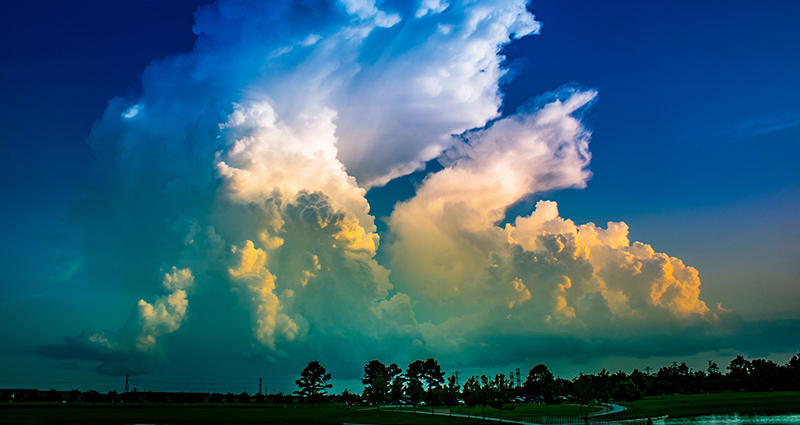

Another way to take a spectacular landscape photo is taking advantage of the extreme weather. Imagine an upcoming storm, huge navy blue clouds covering the sky and on the other hand, the shining sun. This is exactly the moment when we can obtain remarkable contrasts and highlighted colours.
One more alternative? Fog. Look for foggy places to add nostalgia and first of all... mystery to your picture.
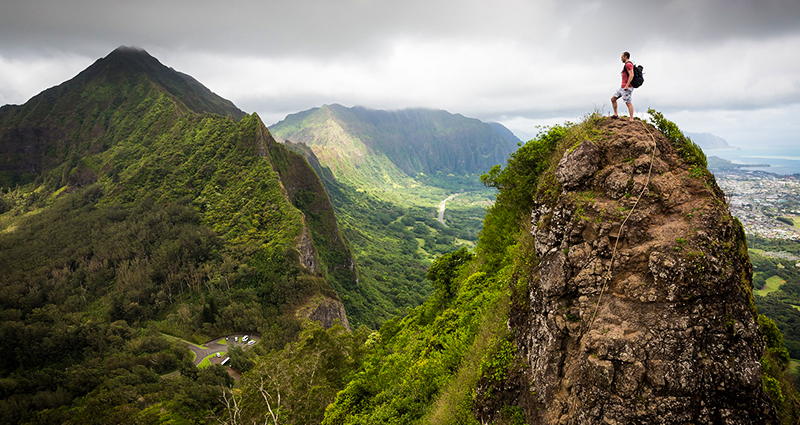
10. Capture the scale
When we are by the sea, in mountains or near to a waterfall, it’s worth highlighting the greatness of the place showing a relevant comparative reference. Look around and compare it with an object, a person or a building which will help you perceive their real form or shape. This effect will make an impression on people watching your pictures as they will accurately present the reality.
So, are you ready for the challenge?
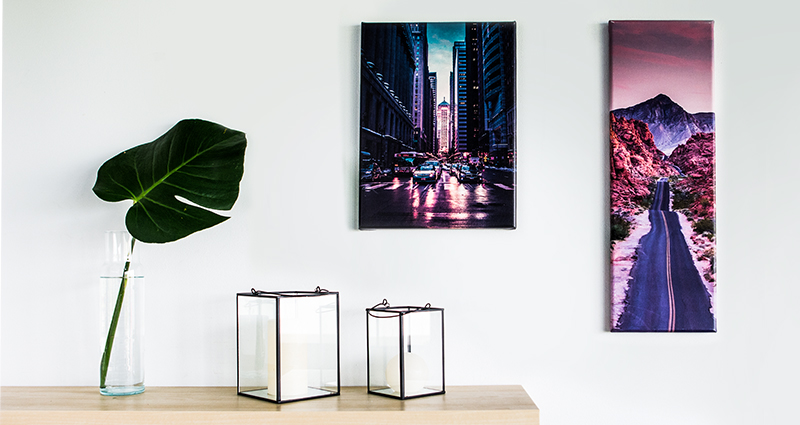
We hope that you find our tips helpful. However, remember that the best and the most beautiful photos (also the landscape ones) can be successfully printed. Are you wondering what the best way to display them is? It’s easy! Check our photo canvases!
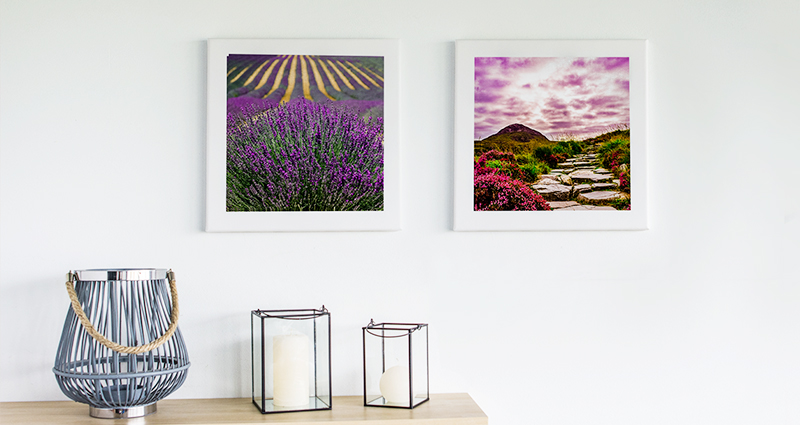
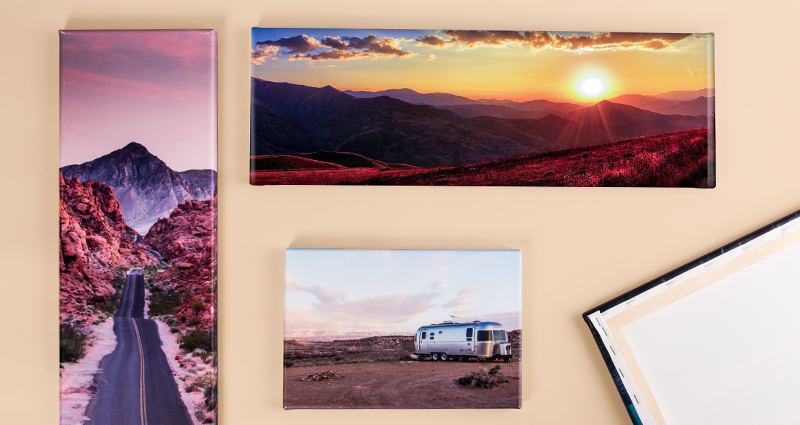
What is more, Colorland has recently introduced new photo canvases formats and a part of them can perfectly fit your panorama and landscape photos. And these are:
- 40x40cm,
- 80x60cm,
- 60x80cm,
- 90x60cm,
- 60x90cm
- 20x60cm
- 60x20cm
- 90x30cm
- 30x90cm.
And what about creating a triptych using the newest formats of our canvases?
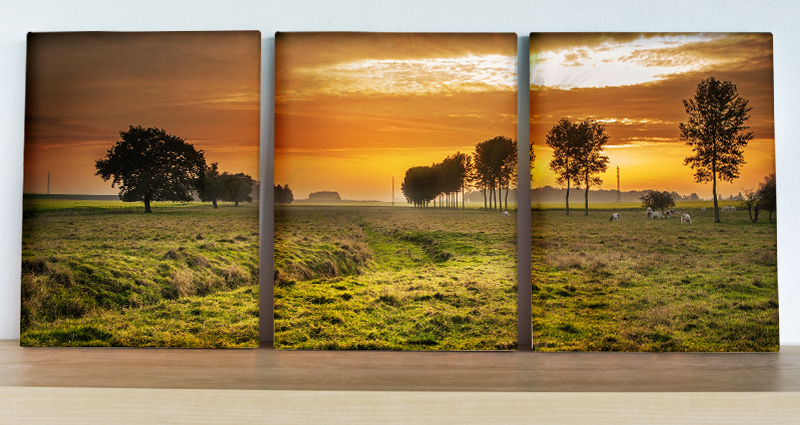
Are you looking for the instruction on how to create a triptych of your favourite photo using our Colorland’s editor? Here it is! Watch the video tutorial:
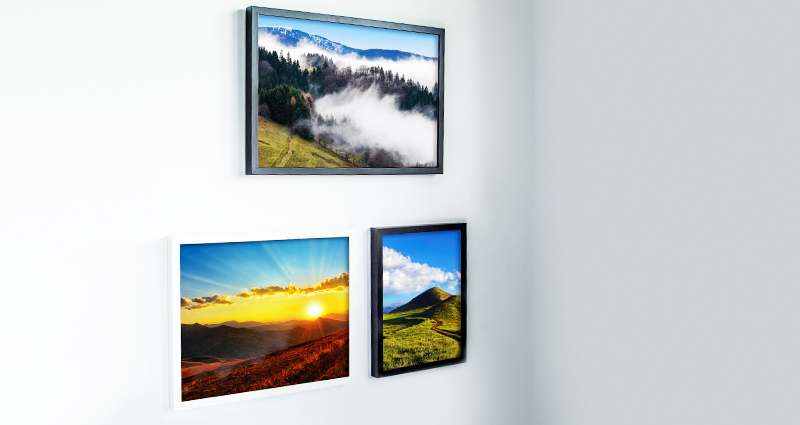
But that’s not all! Another novelty in Colorland’s offer are the frames for canvases available in two colours – white and black – which will make your pictures more classy and elegant. The frames can be added to your order in the basket.
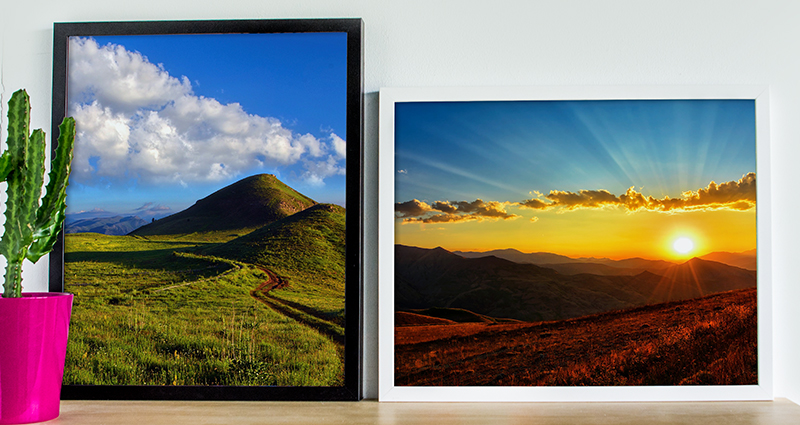

Just check what gorgeous effects you can achieve! And if you want to take advantage of our best promotions, be sure to visit our Special Offer!