5 steps in designing a Photo Book – Yearbook
by Anna, 12 Feb 2020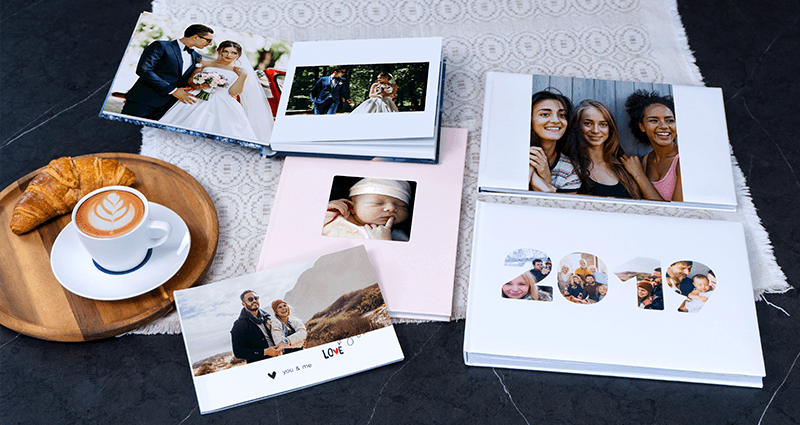
1. Choose the photos and save them in one place

Designing the Photo Book in the editor is not the most important phase (especially while creating a Yearbook). Contrary to what one may think, it’s choosing the photos that constitute the most important part of the whole process. If you start from uploading photos to the editor, most likely from different sources, designing a Yearbook may cost you much more time (and nerves). Therefore:
→ Browse all the devices and places you store photos on: your phone, Google drive, messenger photos, Instagram, Instastory, etc.
→ Don’t be afraid of choosing photos taken with a phone. Owing to a massive technological progress such photos can be of really good quality. Additionally, they are most often some candid shots presenting your regular lives – and such photos are extremely important while creating a Yearbook – they’re authentic and spontaneous. If in doubt, our editor will warn you that the photo is of insufficient quality. Then, you can delete it or resize to become acceptable for print.
→ While choosing photos make sure they are varied in size and format. Choosing both landscape and portrait photos will let you fill in all sorts of photo slots in the project and crop them properly.
2. Sort the saved photos
→ Once the photos have been chosen, sort them according to date they were taken. If you have plenty of them, create separate folders for each month or certain events.
→ Upload the folders one after another to the editor. Thanks to that, you will constantly be able to change the layouts of pages and add the photos on an ongoing basis. This way of adding photos will also allow you to autofill the project gradually. It will save you some time and let you focus only on the small corrections.
3. Plan your Yearbook
Yearbook is a special type of a Photo Book. The planning stage is of utmost importance if one wants to enjoy the keepsake for years to come. While designing a Wedding Photo Book or a Holiday Photo Book we know when each photo was taken. The pictures one puts in a Yearbook might have been taken in different places, definitely different dates and various occasions. The circumstances seem to be obvious now but in a couple of years they will fade in your memory and it will become impossible to tell what was when. Hence:
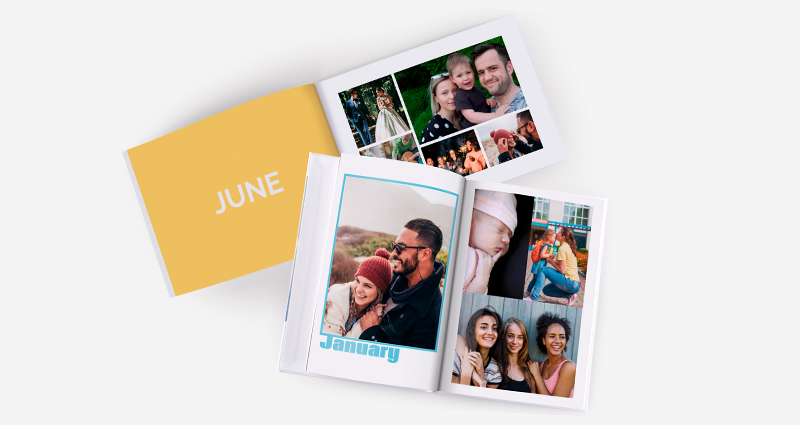
→ Divide your Yearbook into months, prepare a table of content and, just to be on the safe side, caption every photo with a date or the name of the event. The planning and sorting processes now make sense, don’t they?
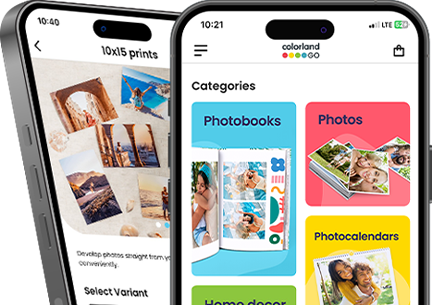
→ To make the designing process easier and more intuitive, we have created two new templates: Yearbook and Year in Review. Both of them include e.g. month-based division, decorative covers and enough space to caption every photo.
4. Add photos… reasonably
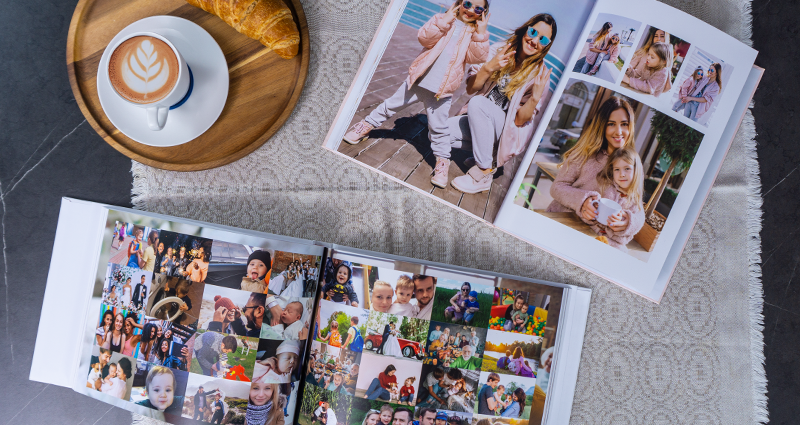
Does more mean better? This rule does not apply to the number of photos per page. A collage of a dozen of small photos on each page will make the Photo Book look unclear. Bigger photos create bigger impression and make the Book easier to look through and aesthetic. Hence try not to add more than six photos per page and add collages only on a few pages.
5. Decorate the cover
Yearbook’s cover is the quintessence of the year it describes. It’s the collection of the most important events, a summary.
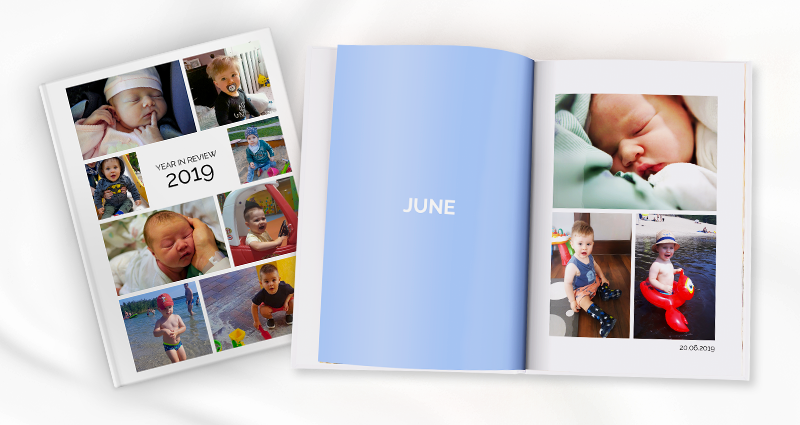
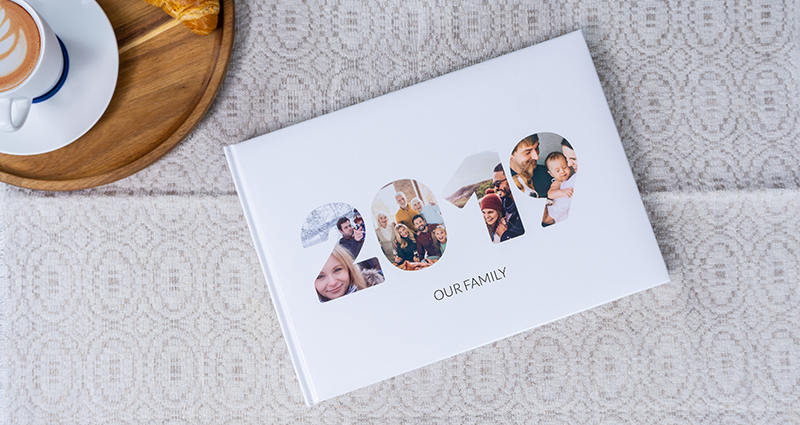
→ To make the Book consistent, the cover should present a few photos placed inside it. They can be for instance the months’ title photos. In our Yearbook-dedicated templates (Yearbook and Year in Review) the covers were designed to allow a few photos. It can be a simple collage (Year in Review) or a photo in the shape of the given year, e.g. 2019 (Yearbook).
→ If you’re designing a Classic Photo Book, a Photo Album, an A5 Photo Book or a Starbook you can also put text on the cover. You can choose from different colours and fonts.
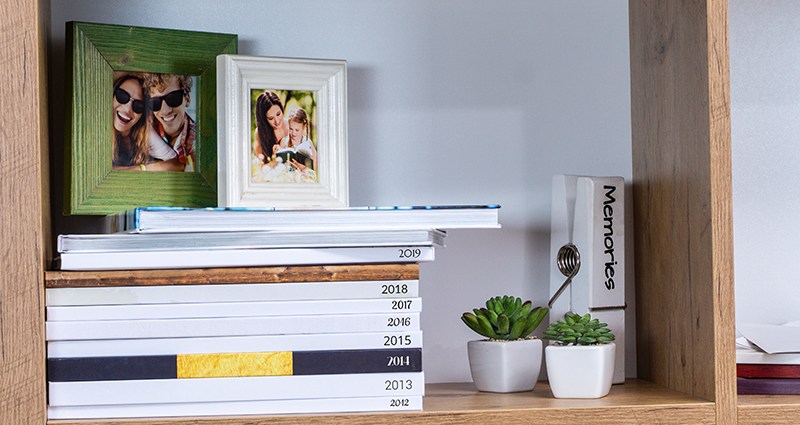
→ In case of the Classic Book (with the exception of the A3 format), the Photo Album and the Starbook you can also add text on the spine of the book. By adding e.g. ‘2019’ on the spine it will be easier to pick the right book from the shelf.
Does the designing process of a Yearbook seem easier now? We hope it does! And if you’re looking for a more practical form of a Yearbook – a calendar – check our 6 ideas for a Photo Calendar.