3 christmas decorations to hang, 3 difficulty levels – DIY Christmas decoration, part 2
by Julia, 15 Dec 2017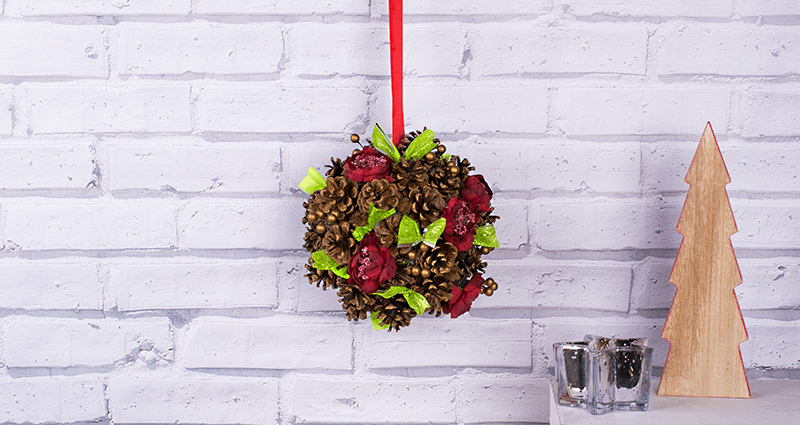
Two weeks ago we’ve presented a few inspirations for Christmas decoration, alternative Christmas trees, wreaths and pendants. Today we’ll show you 3 ideas of Christmas decoration ready to hang, in 3 different difficulty levels. Check it out – we’ve included video tutorials!
LEVEL ONE: COLORFUL CHRISTMAS BALLS WITH RIBBONS
The first decoration that we present is a piece of cake! This decoration is perfect for people who are are not 100% sure about their skills. Moreover, this decoration can be made even by a child – it’s all about tieing some strings. :)
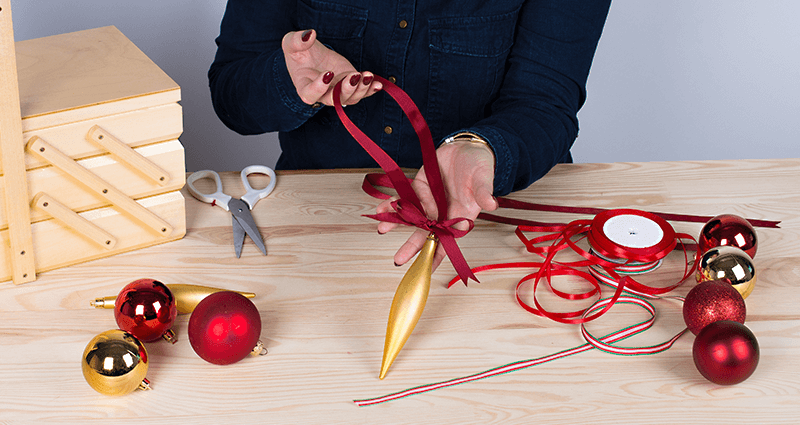
You need: balls, colourful ribbons.
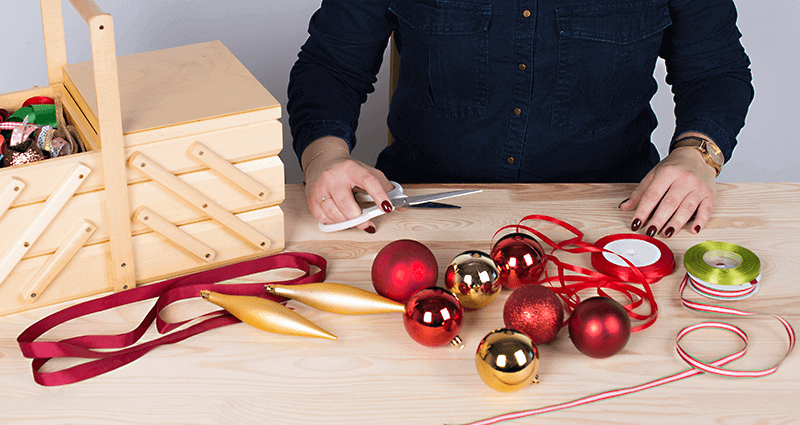
Choose some balls, that you want to use to decorate a wall or a window using ribbons in colours that suit your interior. The size or ribbons doesn’t matter at all. It all depends on your creativity :)
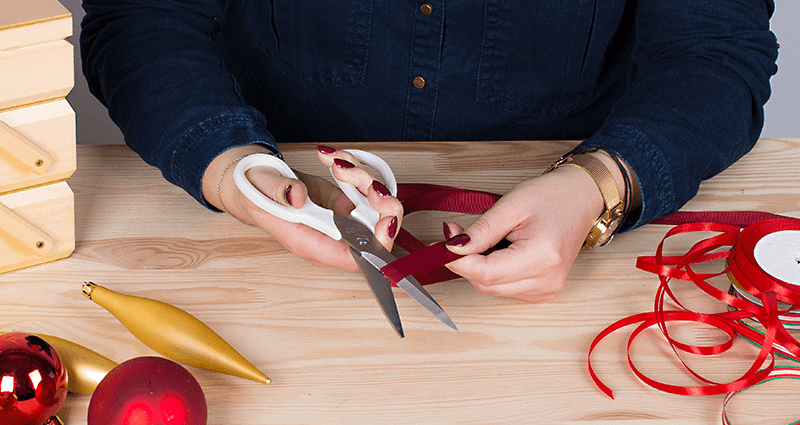
Cut a piece of a ribbon that interests you.
Put ribbon through the end of the ball.
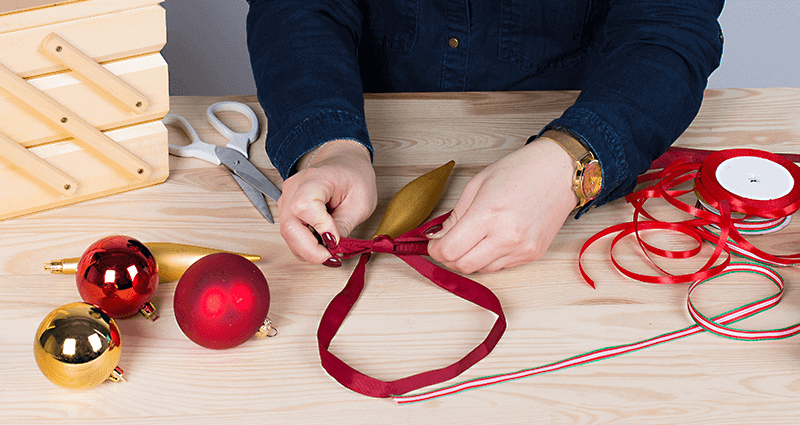
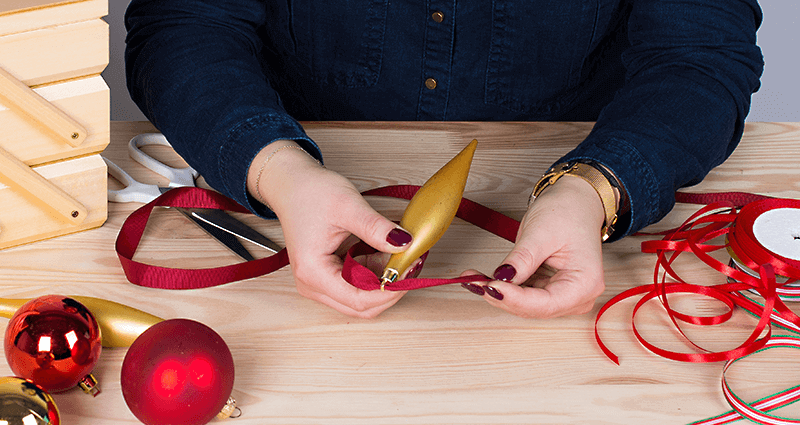
Tie a beautiful ribbon to make it the culmination of the ball.

Cut the end of the ribbon straight or create your own style.
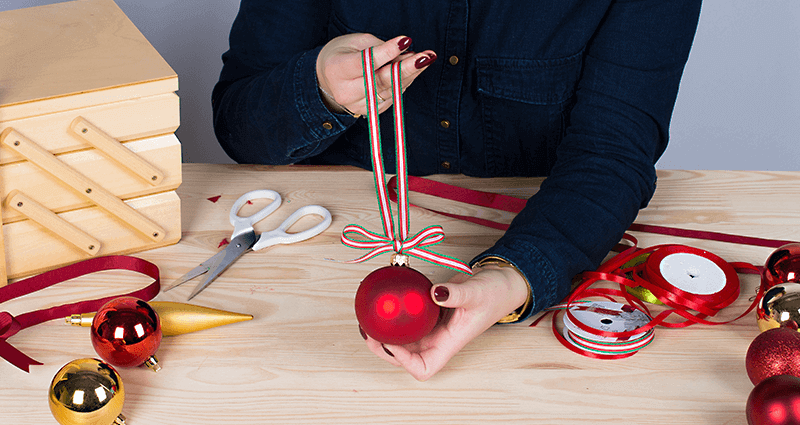
It's easy and original, isn't it?

LEVEL TWO: GLITTERED SNOWFLAKE
The second decoration that we want to share with you is a glittered snowflake. This pendant is also very easy to prepare, however to create it, you need some hot glue, so a little child should not try to do this decoration. Remember that you still can create this decoration together! That’s great fun!
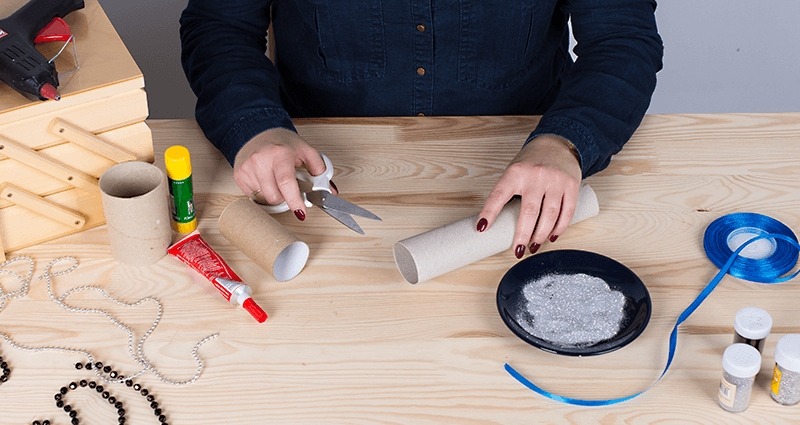
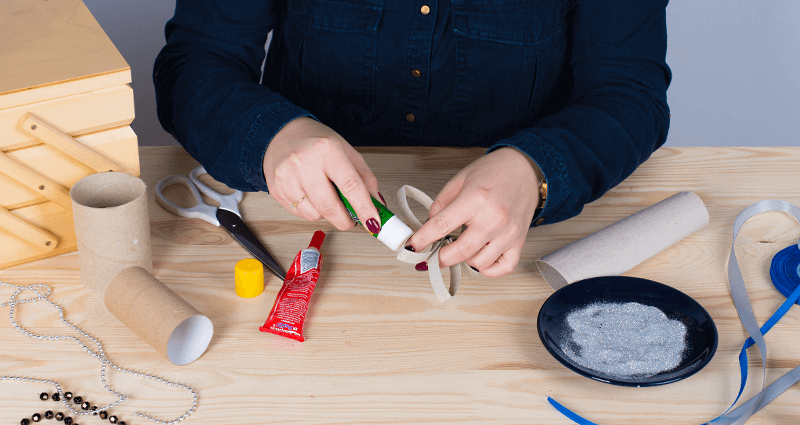
You need: a few rolls of toilet paper or paper towel. You also need hot glue, glitter (choose your favourite colour), beads and ribbon.
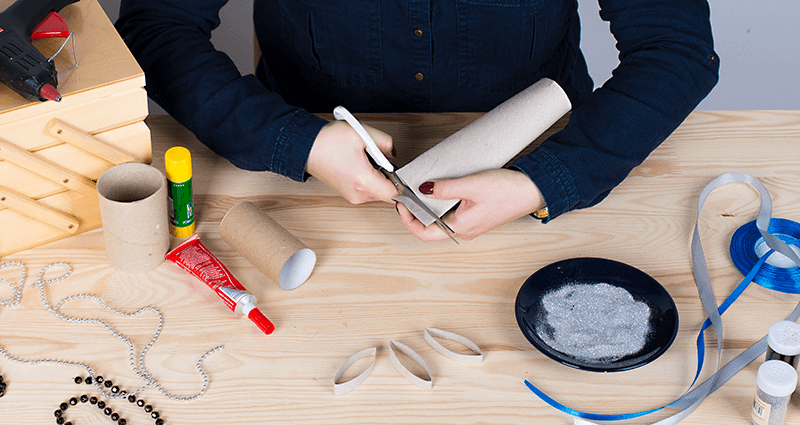
Flex the roll and cut 5 stripes.
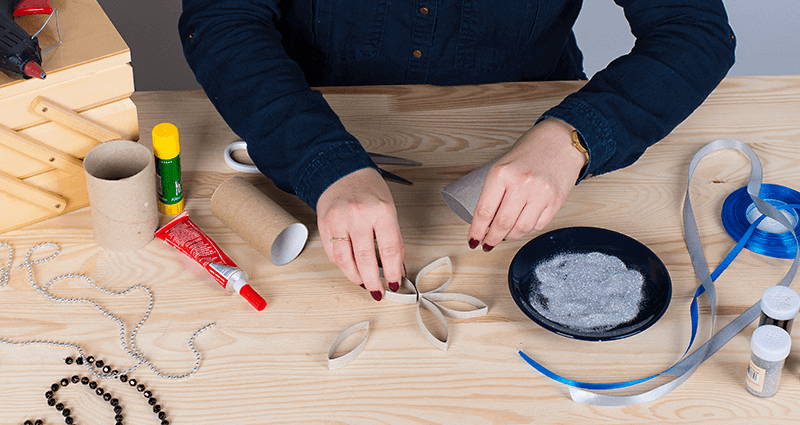
Arrange the stripes to give them the final effect of a snowflake.
Glue the stripes one after another to create a star.
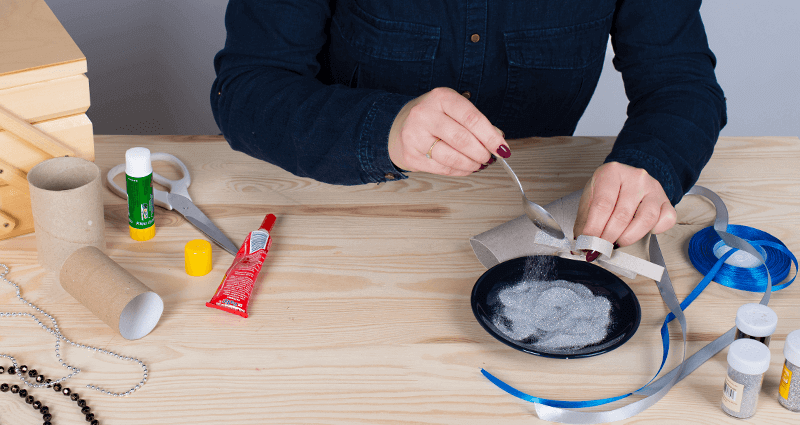
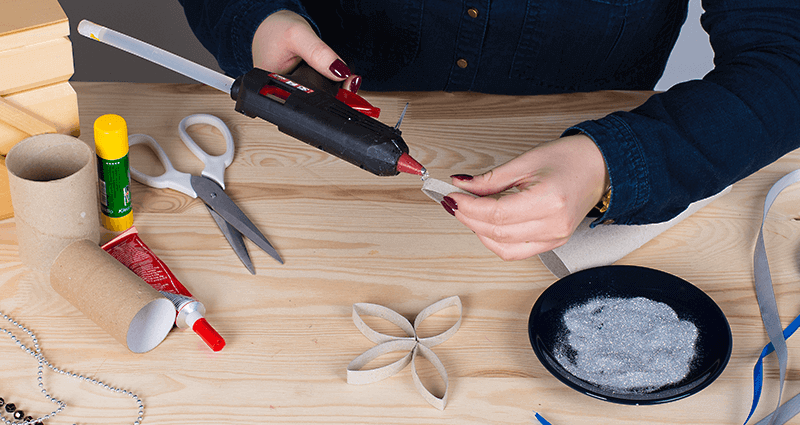
Glue the external part of the start and sprinkle it with glitter.

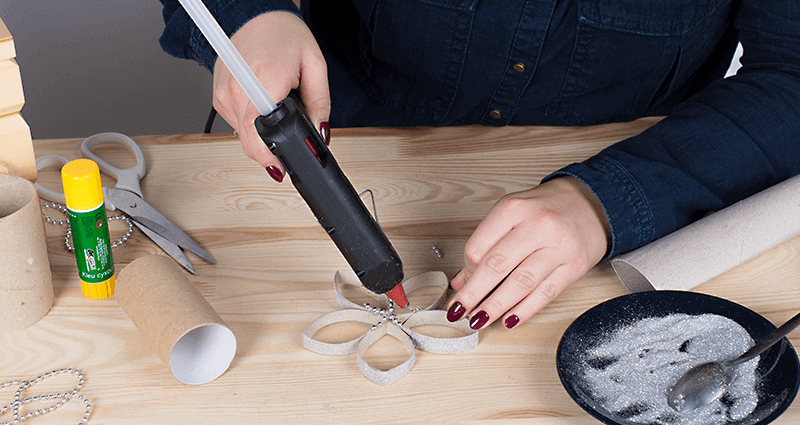
Decorate the interior of the star with beans. They can be separated beans or made as presented in the photo. Then, glue all beans to the star, using the hot glue.
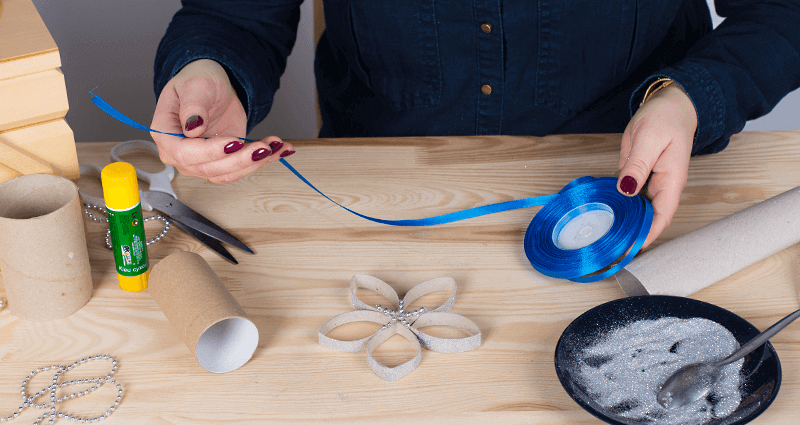
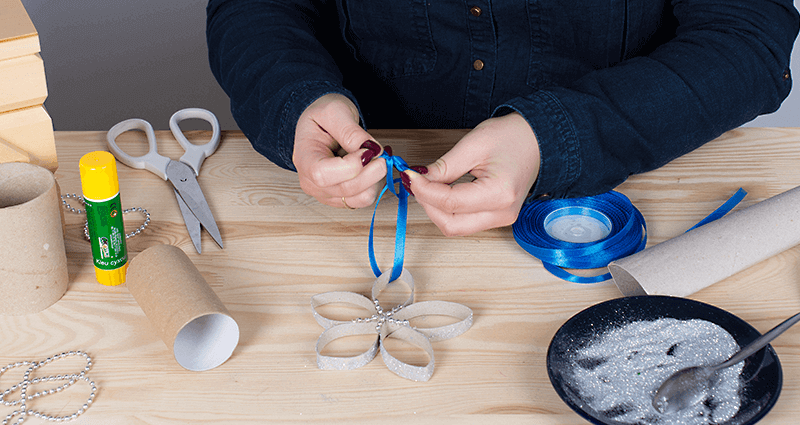
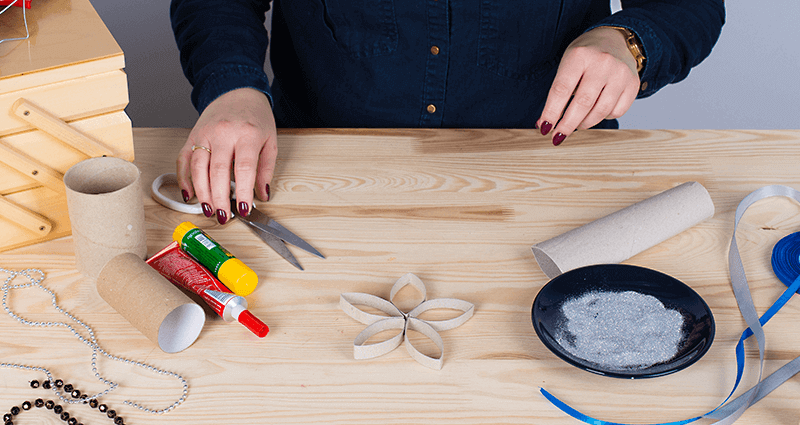
After this, bind the ribbon through one arm of the star and tie it at the top of the star.
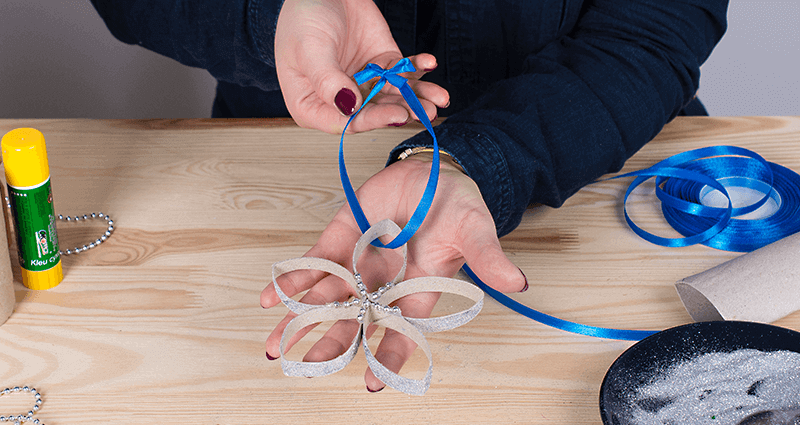
This decoration is quite simple and looks amazing. Don’t you think? ;)
LEVEL THREE: HANGING SPHERE MADE OF CONES AND FLOWERS
The third decoration, that we wanted to share with you is a sphere made of cones and decorated with flowers. To prepare this decoration, you need some more free time and patience, than in the case of previous decorations. However, the final effect will be stunning!
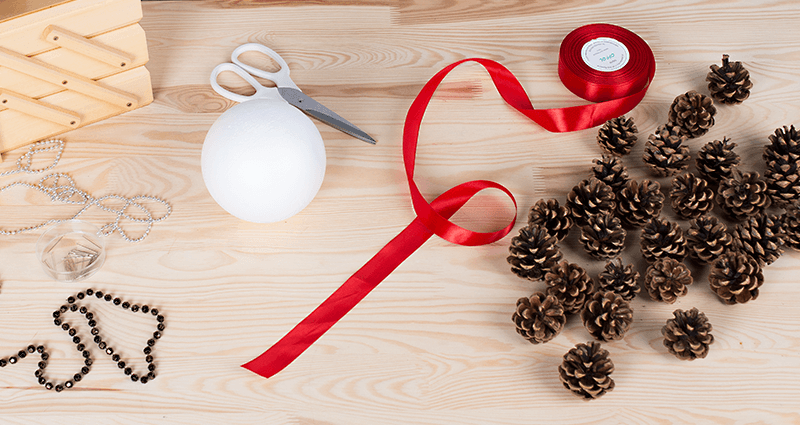
You need: styrofoam sphere with the size of your choice. You also need some coned, artificial flowers or other decoration, hot glue, thick ribbon and some pins.
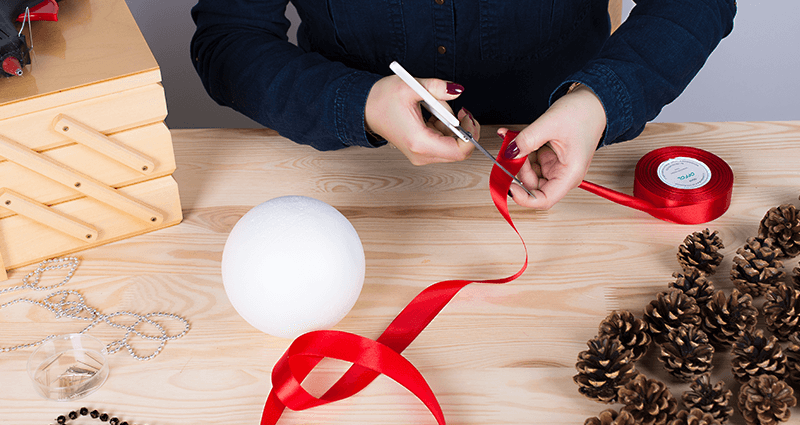
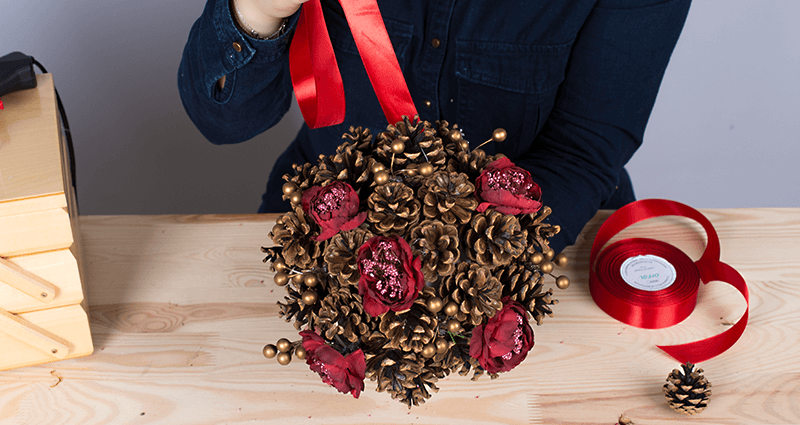
Cut some ribbon to hand the ball.
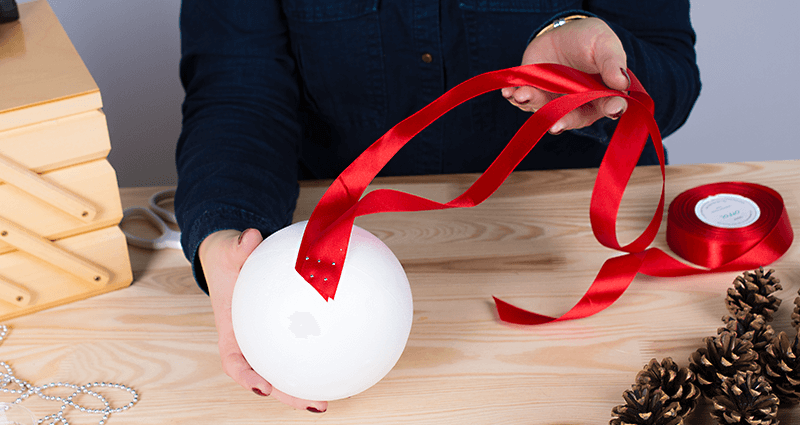
Attach the ribbon to the ball using pins.
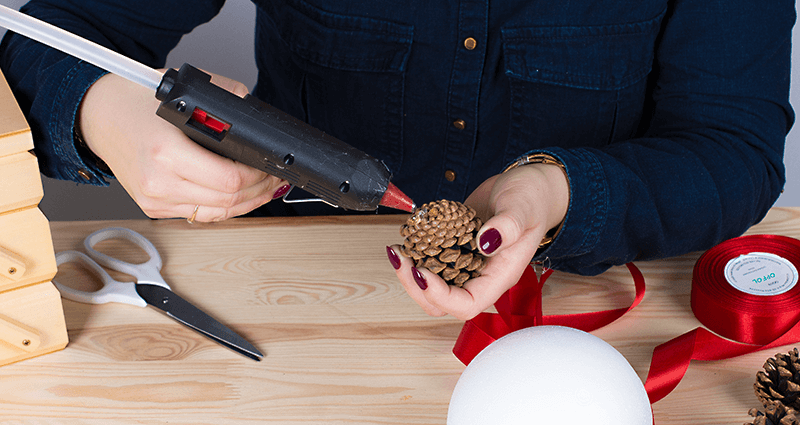


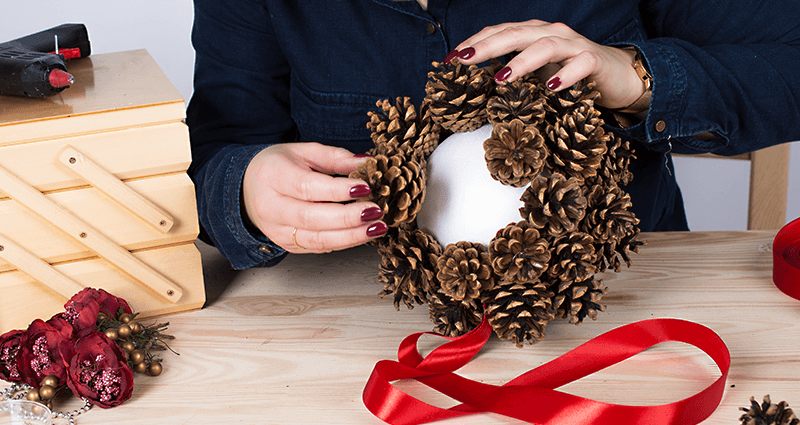
Start adding cones to the ball. Attach the cones using hot glue. Don’t care about the white space between cones (you’ll fill this space with flowers: if you don’t want this white space, paint the ball before starting decorating it).
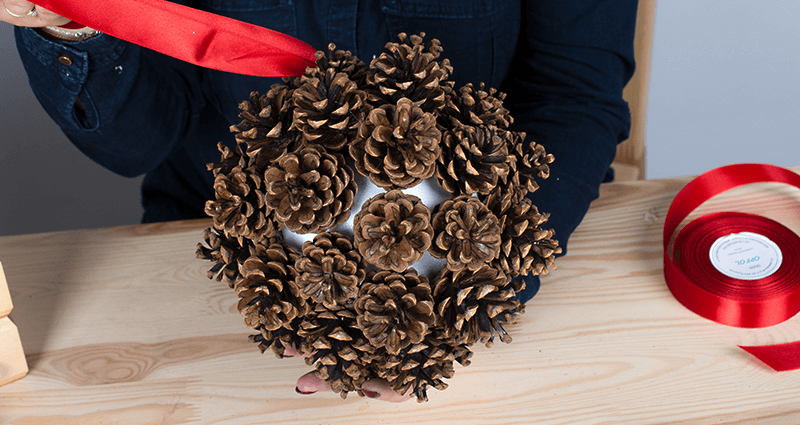
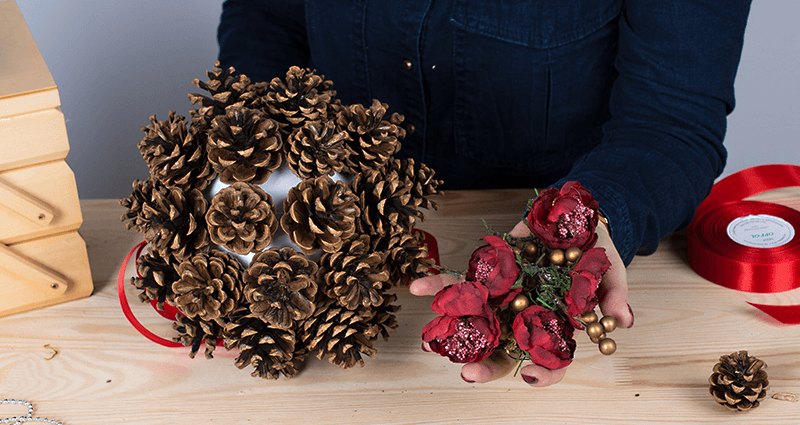
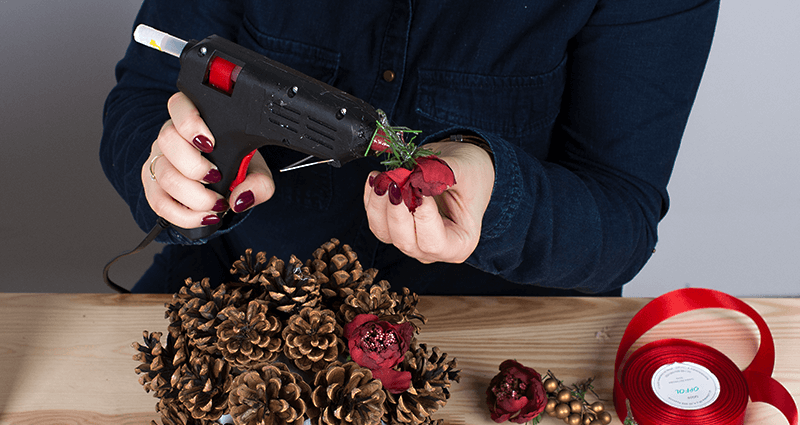
When the ball is ready, proceed to adding flowers or other decorations between cones, to fill the free space. It’s worth using glue to attach the decorations.
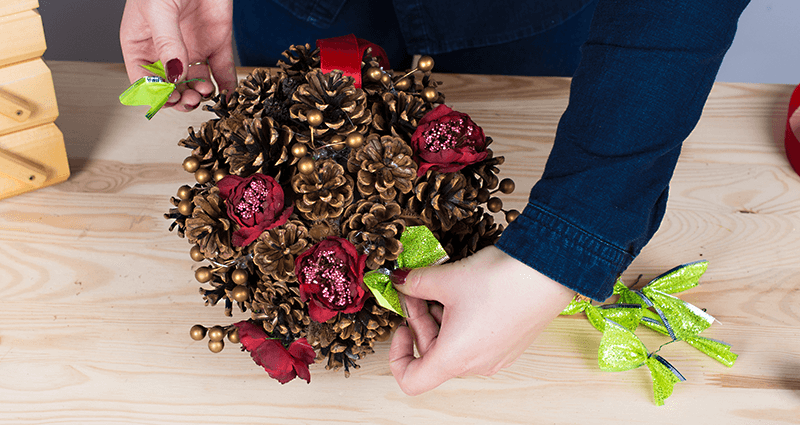
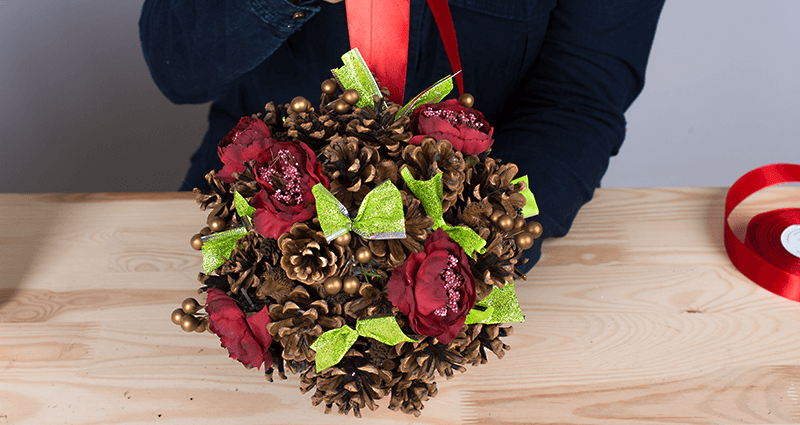
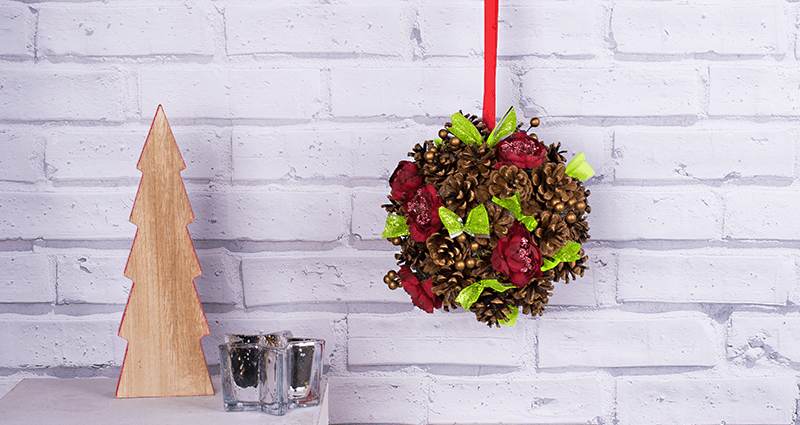
You can also add some decorative ribbons, to make the final effect even more interesting. It’s up to you!
Which inspiration will be your favourite? We hope, that before this Christmas you’ll decide to create one of there decorations for yourself and share the final effect with us! This decoration will undoubtedly add more character to every interior and will bring more Christmas climate. Let’s get to work!