Trick or treat? 5 ideas for DIY Halloween decorations which you have never seen before
by Julia, 19 Oct 2018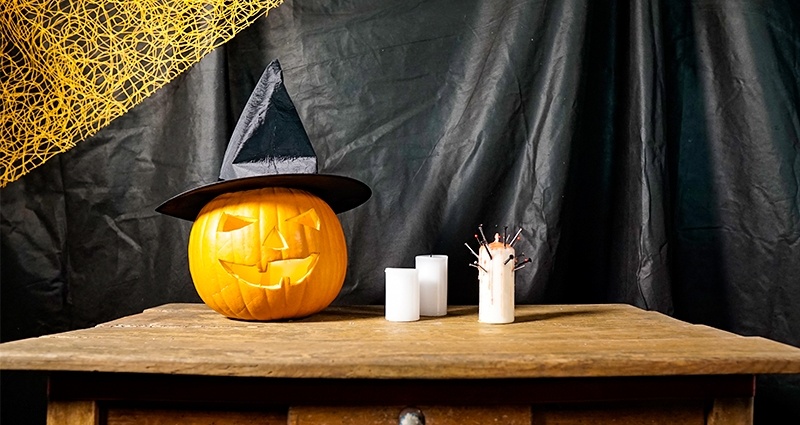
Trick or treat? Yes! Halloween is just around the corner! Well, we are aware that not everybody celebrates this holiday but still it's a perfect occasion to have some fun. So... if you are looking for ideas for DIY Halloween decorations, this blog post is cut-out just for you!
Some of you surely have already seen two of our ideas on our Facebook profile. Below, we present you 3 different Halloween inspirations with an instruction step-by-step how to prepare them.
1. Halloween mini pumpkins
What do you need?
- mandarins
- a black marker
- black pastels (crayons) or a black eyeshadow
1. Clean mandarins and dry them thoroughly.
2. Draw Halloween eyes and a smile on them.
3. Shade mandarins’ peel using black pastels or eyeshadow so it looks like a pumpkin.
4. And that’s it! Feast your eyes with these extraordinary mini pumpkins which... you can eat later on ;)
2. Bleeding candle with nails
What do you need?
- a white thick candle
- a red candle
- nails, screws and pins
- a lighter
1. Stick nails, screws and pins in the candle – you can also heat them with a lighter to facilitate this task.
2. Light the red candle and pour melted wax on the white candle so it looks like blood.
3. Light the white candle and enjoy your easy-to-do and, at the same time, original decoration!
3. Fluffy spider in a spiderweb
What do you need?
- a black rubbish bag
- a pair of scissors/a knife
- fuzzy wires (pipe cleaners)
- two black pompons which you can do yourself or buy e.g. in a stationery shop
- a glue gun
- plastic eyes
1. Spread the bag out and cut it along the longer side.
2. Fold the bag twice so it forms a square and then once again fold it in half and form a triangle.
3. Next, cut the sides of the triangle forming a “Christmas tree” shape.
4. Spread the prepared cut-out and put the spiderweb on a window or a wall.
5. In order to make a spider, bond two pompons together with a glue gun and stick pipe cleaners legs to them.
6. In the end, glue plastic eyes to the smaller pompon and… that’s it!
4. Googly eyes wreath
What do you need?
- a round Styrofoam wreath
- Styrofoam balls
- a knife
- plastic eyes
- a red marker
- a glue gun
- a thick ribbon
- a pair of scissors
- pins
1. Attach the ribbon to the wreath, it’s best to do it using pins.
2. Cut Styrofoam balls in half and stick them to the wreath with a glue gun.
3. Glue plastic eyes on the balls so that they imitate eyeballs.
4. Draw little veins with a red marker on some of them.
5. The creepy wreath is ready!
5. Bleeding hand candle
What do you need?
- 5 taper candles
- a red candle
- a knife
- rubber gloves
- a lighter
- a cooking pot
- a plate
1. Put candles into a glove and adapt them to the fingers’ length.
2. Cut the parts which are sticking out and melt them in a cooking pot, remove the candle wicks.
3. Fill in the glove and after 10 minutes you can start to form the candle’s fingers.
4. Wait around 10 hours for the wax to dry.
5. Take the candle out of the glove and gently cut its endings out. Be careful not to cut the candle wicks.
6. Light the red candle and pour wax on its fingers to create the “blood” effect.
7. Light the candle and enjoy the Halloween aura!
Well, how did that go? Which decoration would you choose for this year’s Halloween? Be sure to let us know! And, beware! We are preparing other inspirations in the form of video tutorials for the upcoming Christmas! You can’t wait to watch them, right?